

If your company provides Superwhisper, follow Activate Your Enterprise License first to sign in with your work email. Then come back here for your first dictation.
- macOS
- Windows
1
Download and install
Superwhisper requires macOS 14 or later. Download it from superwhisper.com, open the file, and drag Superwhisper into your Applications folder, then launch it.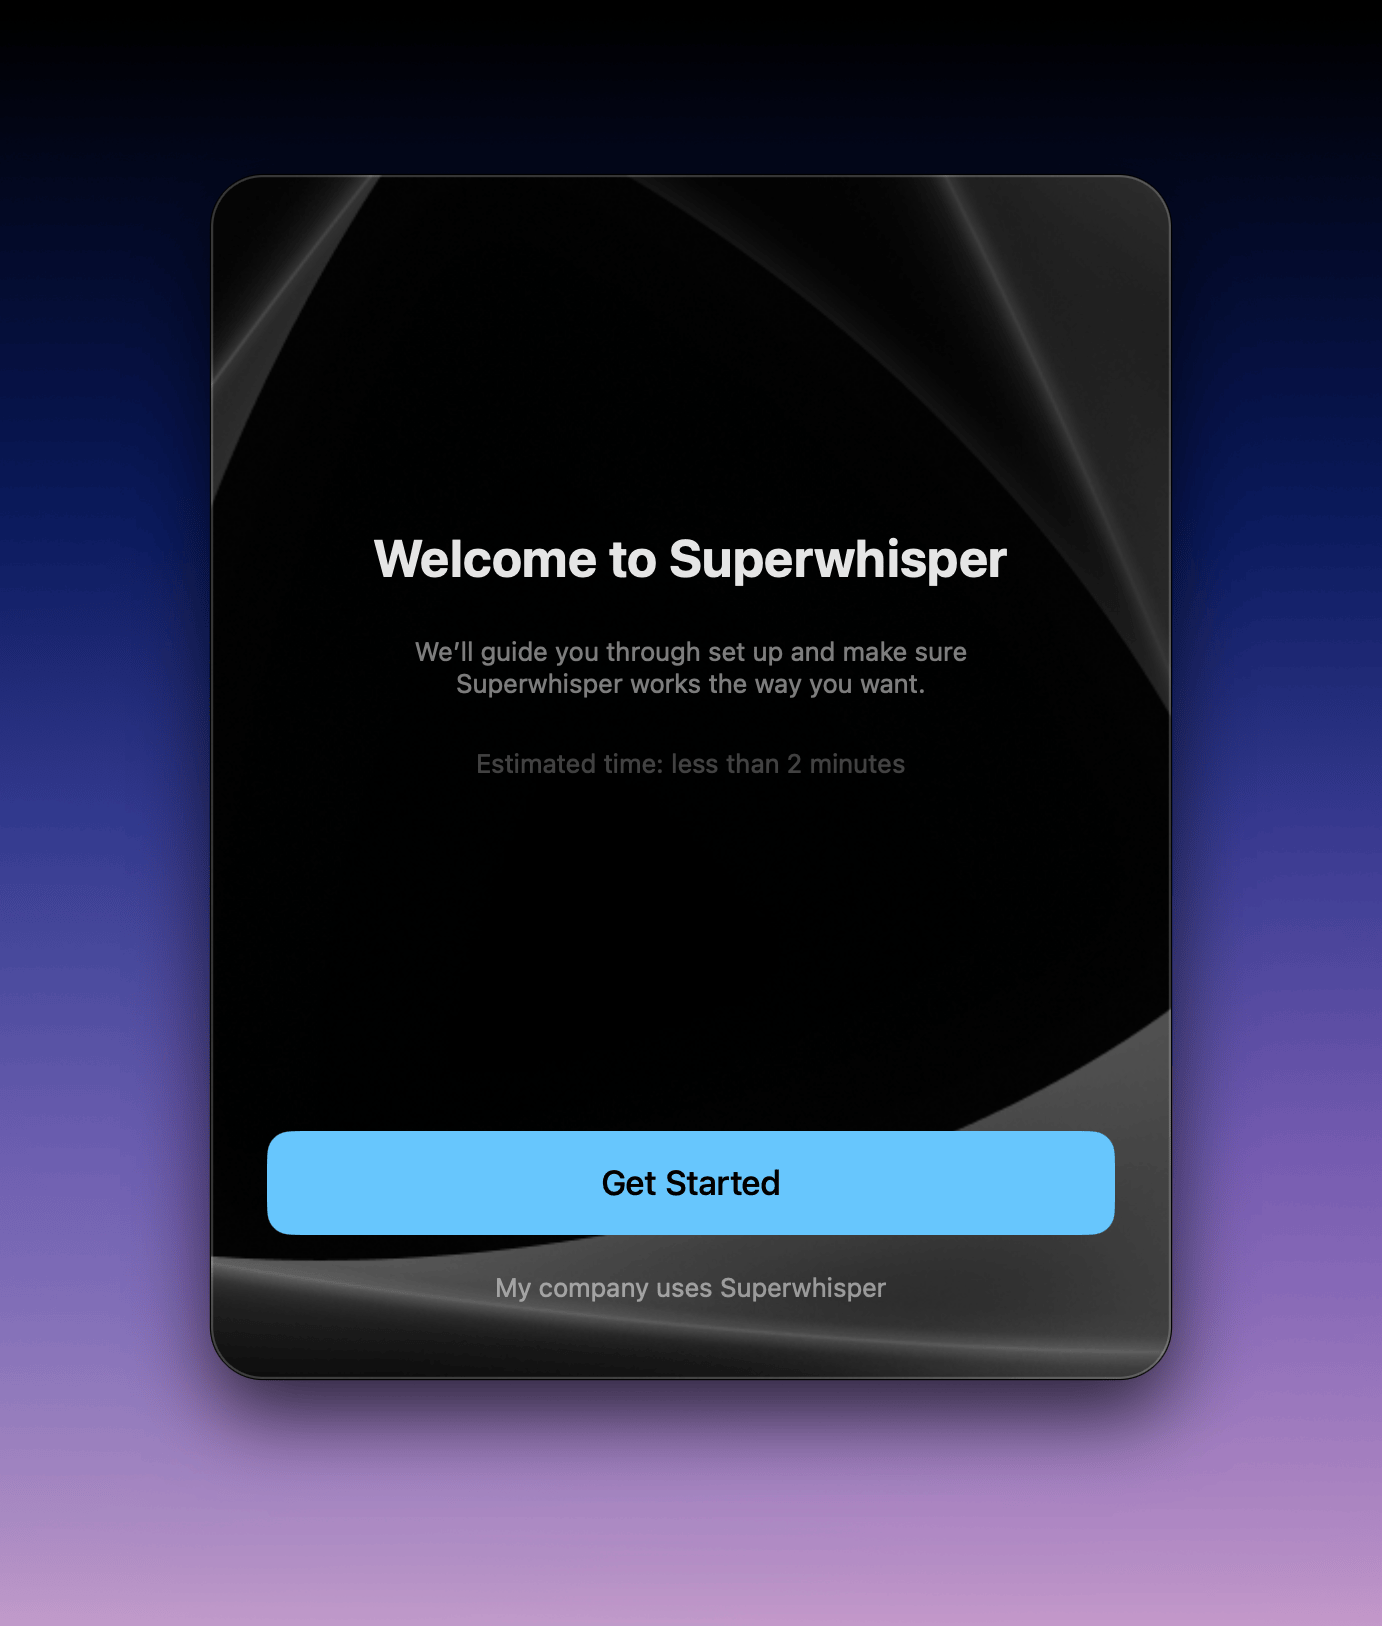
2
Grant permissions
Superwhisper asks for two permissions on first launch: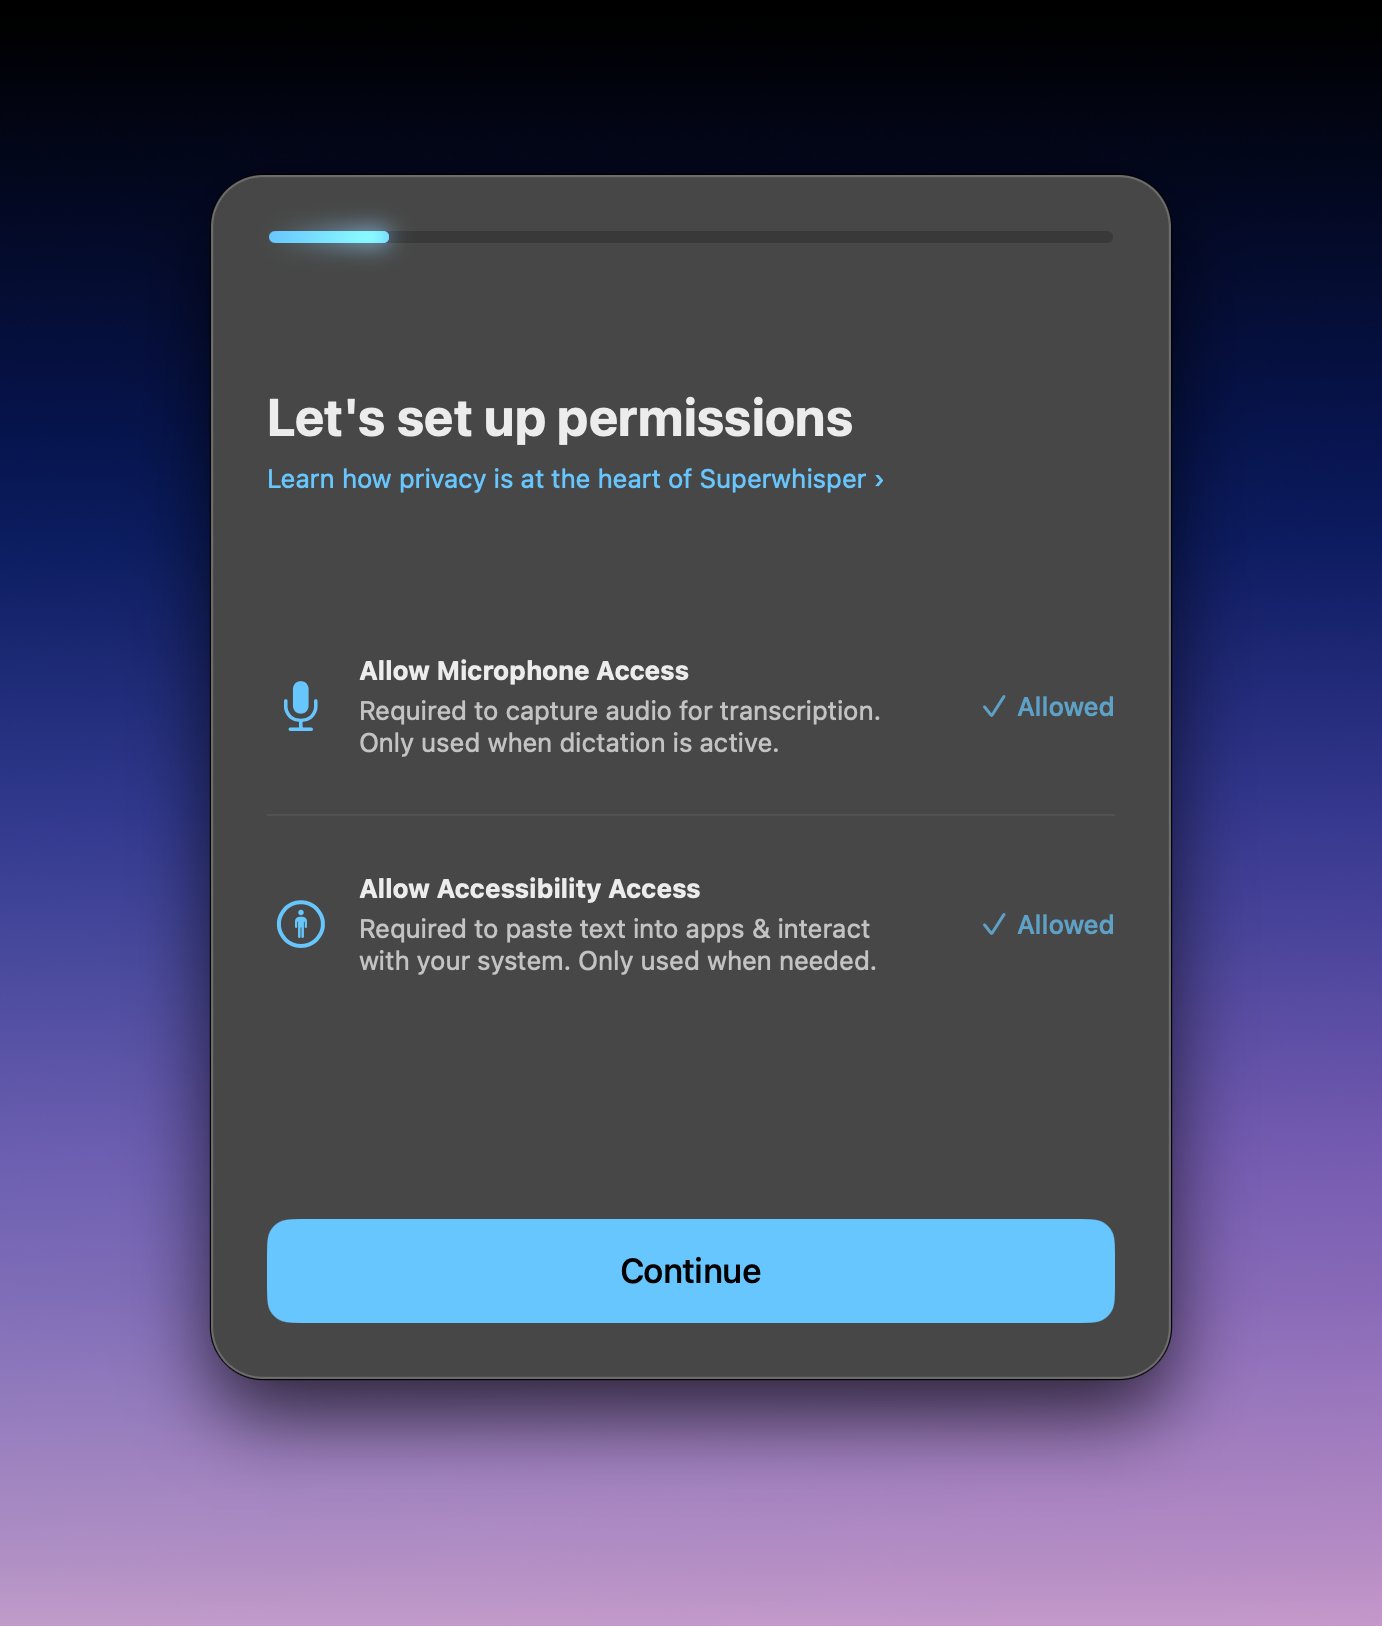
- Microphone: to record your voice
- Accessibility: to paste text into other apps
If you skipped a permission, grant it later in System Settings → Privacy & Security → Microphone / Accessibility.
3
Follow the setup wizard
The wizard asks for your language, transcription model, and microphone. The defaults work well, and you can change everything later.
4
Dictate your first text
Click into any text field, press the recording shortcut (⌥ Space, Option + Space, by default), speak, and press it again to stop. Superwhisper transcribes your words and pastes them at the cursor.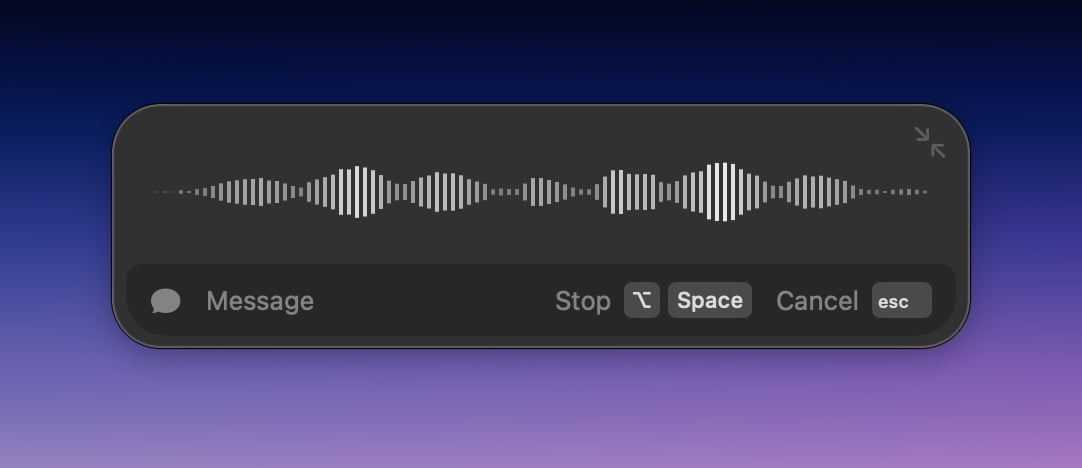
Next steps
Create your first mode
Set up a Message mode and pick its model, cloud or local.
Understand modes
Modes shape your dictation into messages, emails, and notes.
Essential settings
Set up shortcuts, sounds, and the options most people change first.
For iPhone, see Superwhisper on iOS. For Android, see Superwhisper on Android.